
Our topic in today’s field guide will be regarding doors, previously on our field guide video we guided you regarding purchase of the wood. That wood is purchased for the making of door and today we will guide you on how to make a door. There are mainly three kinds of doors that are used in house construction.
- Engineered doors,
- Semi solid doors
- Solid doors.
We will be explaining all these doors separately and in detail. All these doors have different ways of making and are made with different material.
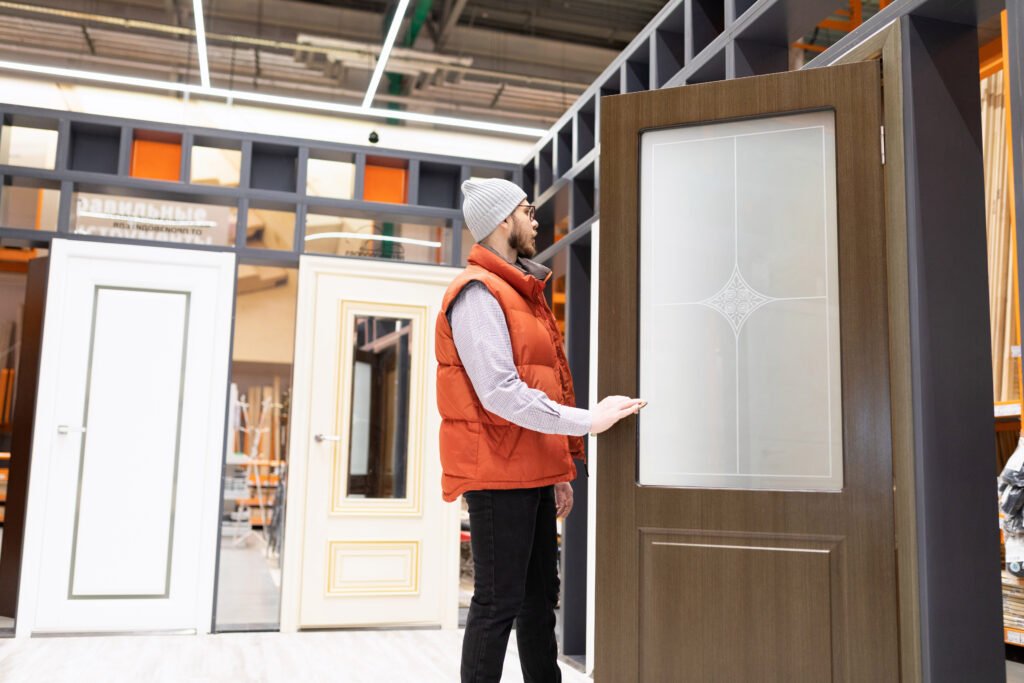
Today in this article we will explain the making of engineered doors. The engineered door that we will be explaining today is the one that you can see in the image below. We will explain the making of the engineered door and will also discuss the cost that is incurred in making of this door.
Sample Engineered Door
The first step in making of the door is the measurements. We will first take the measurements of the place where we have to install a door. We will first take the measurement of the top width, and then we will take the bottom width size n then the height of the wall. Once we have got these three sizes we will then proceed to cutting the planks of the wood purchased for the doors. Engineered doors require a bit of solid wood as well but the type of solid wood depends of the client and their budget. For instance the most economical wood as explained previously in wood purchase article and video is PARTAL. Partal wood can be used for engineered doors as it is quite economical. If we want to go with a better quality, we can go with Kail wood or other better quality woods that we have explained previously. The whole idea of making engineered doors is that they are economical doors so it is recommended that we use partal wood for keeping the cost as low as possible. As you may know that the semi solid doors are pretty expensive. So if we are going for the engineered doors it means that we have a budget constraint.
To make an engineered door we need a few things such as wood and the wood that we shortlisted for the door shown above is Kail wood. Other than the wood we would need, nails, glue, saw, hammer, inches tape and most importantly set square to see if all the corners are in right angle. Other than these items we need MDF veneer sheets to final touching of the door. These veneer sheets are available in the market in different grades and qualities e.g. ash veneer, oak veneer etc. These veneer sheets are used on the final layer that is pasted on the door.
GLUE
Hammer
Inches Tape
Nails
Hammer
Set Square
MDF Oak Veneer Sheet
After we have taken all the sizes of the wall and and cut the planks accordingly we will then join the planks together making the frame of the door. While joining them we need to make sure that the planks are all in the right angle. Once the frame is ready we will then cut the MDF veneer sheet according to the size of the door. After the sheets are ready we will then make glue. The method of making glue is fairly simple, 1 door requires 2kgs of glue and to make the glue we need to add some water into it to make the paste. The ratio of water should be 30% in 70% of glue. After the glue is ready we will then apply the glue on the veneer sheets, put the wooden planks (internal packing) on the MDF veneer sheets and then close it with putting the MDF veneer sheets on the top of the wooden planks. We can also fill the doors with wastage of wood but in this case we are packing it with solid kail wood planks. If in case budget is a constraint the door can be filled with wastage or the quantity of the wooden packing can be decreased.
Inner Packing of an Engineered Door
The door will then be placed on the press and then weight will be added on the door. The more weight we add the better it is for the door. After the door is places on the press we will then press it with the pressing hardware as shown in the video above. We can place upto 10 doors in this press and lock them after applying the weight and the pressing time will be minimum of 12 hours and can go up till 24 hours in the winters.
After the door is released from the press it is now time to make desired design on the door using a router. Router is a power tool that workers use to route wood or make grooving designs on it.
After the design on the door is ready the door is then ready to be placed. The only step left for its finishing is the polish of the door. Polishing of the door is very technical and comprehensive and we will discuss it in detail in our upcoming videos.
Final Design of the Door
Finally the cost breakdown of this engineered door is as follows:
Note:Wood used for this door is Imported Kail
We hope our today’s article on engineered doors was helpful for you in understanding the making of engineered door. We will continue to write articles and make videos on different topic. In order to benefit from our videos please like our facebook page and follow our youtube channel.